What is OpenSearch?
OpenSearch is an open source search and analytics suite derived from Elasticsearch. It offers capabilities for data indexing, querying, and analytics, making it an alternative to proprietary solutions like Elasticsearch.
OpenSearch allows users to deploy scalable search solutions on various types of data, ranging from text to logs, providing tools such as dashboards and interactive analysis. Developed with community involvement, OpenSearch continues to evolve with the aim of fostering transparency and collaboration.
OpenSearch is extensible, enabling developers to tailor the suite to fit their needs. The community-driven nature ensures a responsive development cycle, addressing bugs, performance enhancements, and new feature requests swiftly.
What is Docker?
Docker is an open source platform that automates the deployment, scaling, and management of applications using containerization. Containers are lightweight, standalone execution environments that bundle an application’s source code with its libraries, dependencies, and configuration files.
This containerization ensures that applications run consistently across various environments, eliminating conflicts from differing OS versions or installed software. Containers differ from virtual machines, offering faster startups and more efficient resource use.
Docker’s architecture leverages container images, which are templates for creating containers and can be easily shared and deployed across different systems. By using Docker, developers can speed up application development and deployment, simplify dependencies, and enable collaboration. Docker has become a popular tool for modern DevOps practices.
Advantages of running OpenSearch in Docker
Running OpenSearch in Docker offers several benefits, making deployment and management more efficient. Docker provides a lightweight and consistent environment for OpenSearch, ensuring smooth operation across different infrastructures. Here are some key advantages:
- Simplified deployment: Docker eliminates the need for manual installation and configuration. OpenSearch can be set up quickly using a pre-built container image, reducing setup time and complexity.
- Environment consistency: Containers ensure that OpenSearch runs identically across development, testing, and production environments, preventing issues related to dependency mismatches.
- Resource efficiency: Compared to virtual machines, Docker containers use fewer system resources, allowing multiple instances of OpenSearch to run efficiently on the same hardware.
- Scalability: Docker makes it easy to scale OpenSearch clusters by adding or removing containers dynamically, enabling smooth handling of increased workloads.
- Portability: Since Docker containers package OpenSearch with all its dependencies, they can be deployed across different platforms and cloud providers without modification.
- Simplified maintenance: Managing updates and patches is easier with Docker, as users can upgrade OpenSearch by replacing containers with newer versions while maintaining data persistence.
Related content: Read our guide to OpenSearch architecture
Tips from the expert

Kassian Wren
Open Source Technology Evangelist
Kassian Wren is an Open Source Technology Evangelist specializing in OpenSearch. They are known for their expertise in developing and promoting open-source technologies, and have contributed significantly to the OpenSearch community through talks, events, and educational content
In my experience, here are tips that can help you better run OpenSearch in Docker:
- Use
opensearch-dashboardsin a separate container for better UI performance: Instead of running OpenSearch Dashboards within the same container, deploy it as a dedicated service to reduce memory contention and avoid UI slowdowns. - Optimize OpenSearch JVM heap settings: Set
OPENSEARCH_JAVA_OPTS="-Xms2g -Xmx2g"in the Docker Compose file to allocate appropriate memory for OpenSearch, preventing excessive garbage collection or out-of-memory errors. - Mount persistent storage to avoid data loss: Docker containers are ephemeral, meaning data is lost when the container restarts unless you mount a volume using
- opensearch-data:/usr/share/opensearch/data. This ensures index persistence across container restarts. - Use Docker Health Checks for automatic restarts: Add a health check to detect when OpenSearch is unresponsive and trigger a restart:
1234healthcheck:test: ["CMD", "curl", "-f", "http://localhost:9200"]interval: 30sretries: 5
- Run OpenSearch in a private Docker network: Instead of exposing ports to the host, use a private network to isolate OpenSearch and improve security:
docker network create opensearch-net. Then, define the services within the network indocker-compose.yml.
Quick tutorial: Run OpenSearch in a Docker container
Let’s see how to set up OpenSearch using Docker, step by step. These instructions are adapted from the OpenSearch documentation.
1. Install Docker and Docker Compose
Before running OpenSearch in a container, install Docker and Docker Compose:
- Docker: Follow the official guide at Get Docker to install Docker based on the operating system.
- Docker Compose: If using Docker Desktop, Docker Compose is included by default. Otherwise, install it manually by following the official instructions.
Ensure that Docker has sufficient resources allocated, particularly at least 4 GB of memory, which can be configured in Docker Desktop under Settings > Resources.
2. Configure Host Settings
Before launching OpenSearch, update system settings to optimize performance.
Linux settings
Run the following commands to disable memory swapping and increase the number of memory maps available:
|
1 2 |
sudo swapoff -a sudo sysctl -w vm.max_map_count=262144 |

To make this setting persistent, add the following line to /etc/sysctl.conf:
|
1 |
vm.max_map_count=262144 |

Then apply the changes:
|
1 |
sudo sysctl -p |

Windows settings (WSL)
If using Docker Desktop on Windows with WSL, set vm.max_map_count by running:
|
1 2 |
wsl -d docker-desktop sysctl -w vm.max_map_count=262144 |
3. Run OpenSearch in a Docker Container
Download and run the official OpenSearch image using Docker.
1. Pull the OpenSearch images
Pull the latest OpenSearch and OpenSearch Dashboards images from Docker Hub:
|
1 |
docker pull opensearchproject/opensearch:latest |

|
1 |
docker pull opensearchproject/opensearch-dashboards:latest |

Alternatively, pull images from Amazon ECR:
|
1 |
docker pull public.ecr.aws/opensearchproject/opensearch:latest |

|
1 |
docker pull public.ecr.aws/opensearchproject/opensearch-dashboards:latest |

2. Start an OpenSearch container
Run a single-node OpenSearch instance:
|
1 |
docker run -d -p 9200:9200 -p 9600:9600 -e "discovery.type=single-node" opensearchproject/opensearch:latest |

For OpenSearch 2.12 or later, set an admin password before installation:
|
1 2 3 4 |
docker run -d -p 9200:9200 -p 9600:9600 \ -e "discovery.type=single-node" \ -e "OPENSEARCH_INITIAL_ADMIN_PASSWORD=SecureP@ssword1" \ opensearchproject/opensearch:latest |

3. Verify OpenSearch is running
Check if the container is running:
|
1 |
docker container ls |

Then send a request to OpenSearch to confirm it’s accessible:
|
1 |
curl -u admin:SecureP@ssword1 -k https://localhost:9200 |

The response should be similar to:
|
1 2 3 4 5 6 7 8 9 10 11 |
{ "name": "a937e018cee5", "cluster_name": "docker-cluster", "version": { "distribution": "opensearch",` `"number": "2.x",` `"build_type": "tar",` `"lucene_version": "8.10.1" }, "tagline": "The OpenSearch Project: https://opensearch.org/" } |
4. Stop and remove the container
To stop the running OpenSearch container:
|
1 |
docker stop <containerId> |

To remove stopped containers:
|
1 |
docker container prune |

Note: Please note this command will delete all containers from your server.
5. Deploy an OpenSearch cluster using Docker Compose
Instead of running commands manually, use Docker Compose to deploy a multi-node OpenSearch cluster.
1. Create a docker-compose.yml file
Save the following content as docker-compose.yml:
|
1 2 3 4 5 6 7 8 9 10 11 12 13 14 15 16 17 18 19 20 21 22 23 24 25 26 27 28 29 30 31 32 33 34 35 36 37 38 39 40 41 42 43 44 45 46 47 48 49 50 51 52 53 54 55 56 57 58 59 60 61 62 63 64 65 66 67 |
version: '3' services: opensearch-node1: image: opensearchproject/opensearch:latest container_name: opensearch-node1 environment: - cluster.name=opensearch-cluster - node.name=opensearch-node1 - discovery.seed_hosts=opensearch-node1,opensearch-node2 - cluster.initial_cluster_manager_nodes=opensearch-node1,opensearch-node2 - bootstrap.memory_lock=true - "OPENSEARCH_JAVA_OPTS=-Xms512m -Xmx512m" - OPENSEARCH_INITIAL_ADMIN_PASSWORD=SecureP@ssword1 ulimits: memlock: soft: -1 hard: -1 nofile: soft: 65536 hard: 65536 volumes: - opensearch-data1:/usr/share/opensearch/data ports: - 9200:9200 - 9600:9600 networks: - opensearch-net opensearch-node2: image: opensearchproject/opensearch:latest container_name: opensearch-node2 environment: - cluster.name=opensearch-cluster - node.name=opensearch-node2 - discovery.seed_hosts=opensearch-node1,opensearch-node2 - cluster.initial_cluster_manager_nodes=opensearch-node1,opensearch-node2 - bootstrap.memory_lock=true - "OPENSEARCH_JAVA_OPTS=-Xms512m -Xmx512m" - OPENSEARCH_INITIAL_ADMIN_PASSWORD=SecureP@ssword1 ulimits: memlock: soft: -1 hard: -1 nofile: soft: 65536 hard: 65536 volumes: - opensearch-data2:/usr/share/opensearch/data networks: - opensearch-net opensearch-dashboards: image: opensearchproject/opensearch-dashboards:latest container_name: opensearch-dashboards ports: - 5601:5601 environment: - OPENSEARCH_HOSTS=["https://opensearch-node1:9200","https://opensearch-node2:9200"] networks: - opensearch-net volumes: opensearch-data1: opensearch-data2: networks: opensearch-net: |
2. Run the OpenSearch Cluster
From the directory where docker-compose.yml is saved, start the cluster:
|
1 |
docker-compose up -d |

Check running containers:
|
1 |
docker-compose ps |

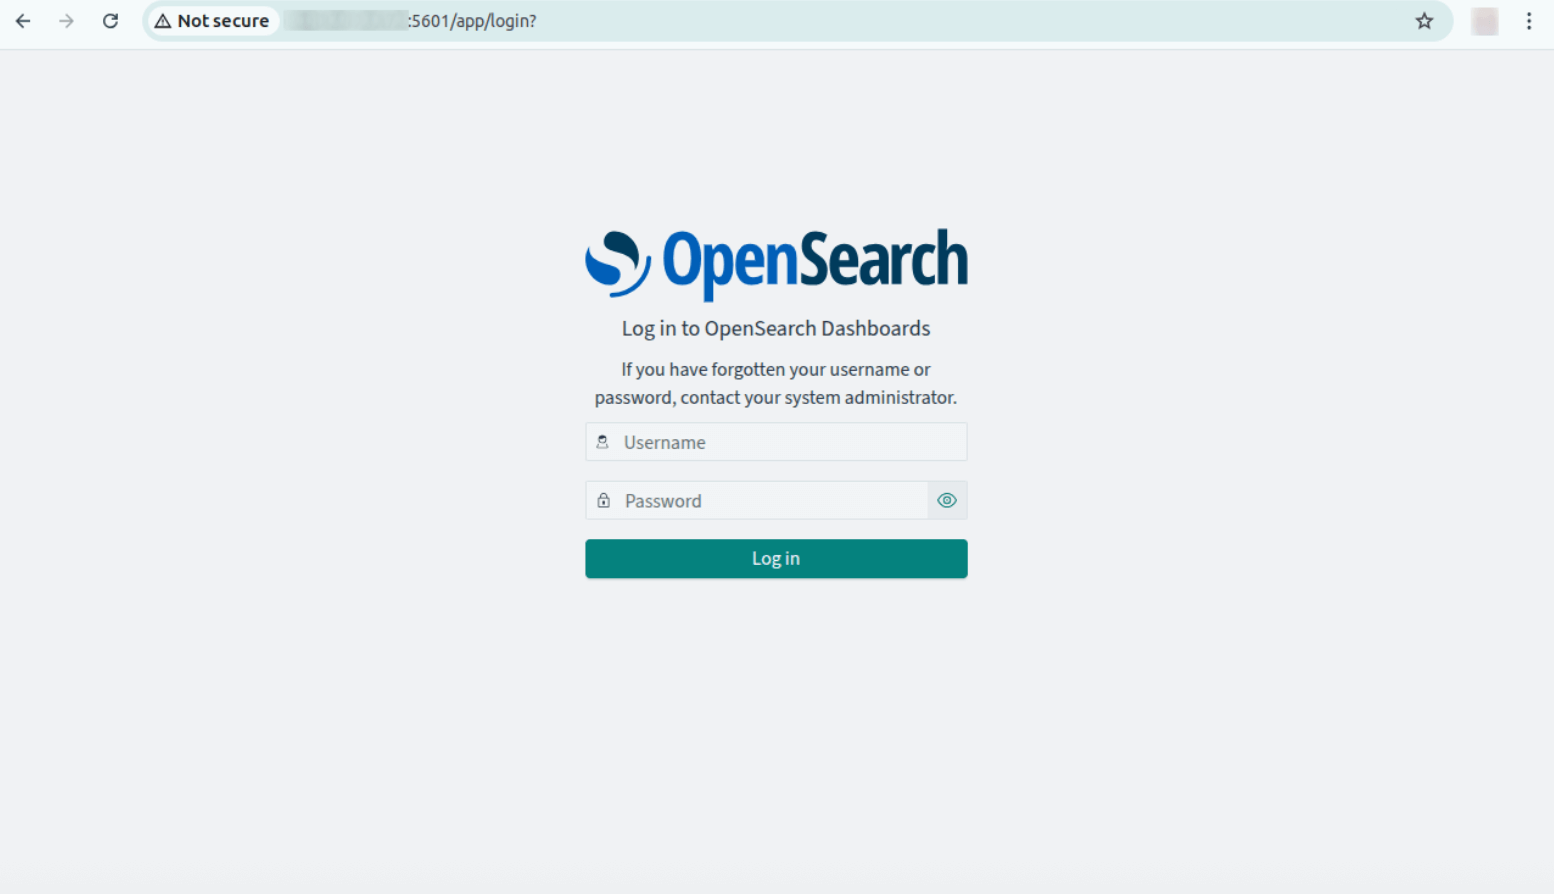
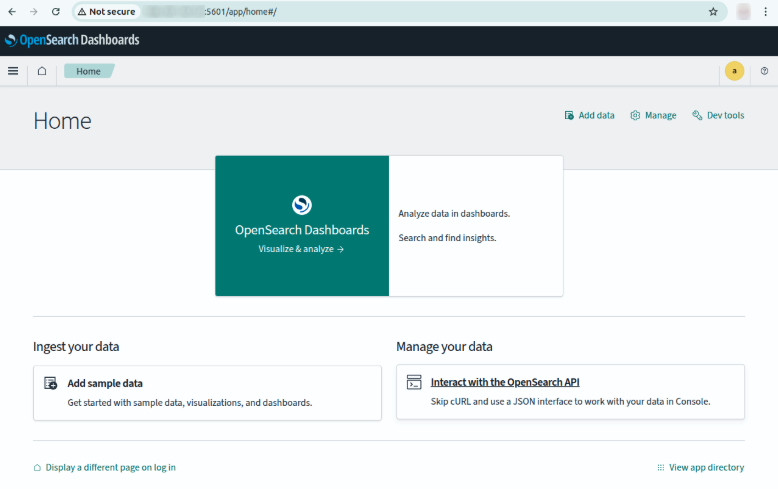
Access OpenSearch Dashboards in a browser at http://localhost:5601 (default credentials: admin / SecureP@ssword1).


3. Stop and clean up
To stop and remove all OpenSearch containers:
|
1 |
docker-compose down |

To remove all volumes:
|
1 |
docker-compose down -v |

5 best practices for running OpenSearch in Docker
Here are some useful practices to consider when using OpenSearch in a Docker environment.
1. Adjust virtual memory settings
OpenSearch relies on large amounts of virtual memory for efficient performance. Ensure that the vm.max_map_count setting is correctly configured to prevent out-of-memory errors.
For Linux, run:
|
1 |
sudo sysctl -w vm.max_map_count=262144 |
To make the setting persistent, add the following line to /etc/sysctl.conf:
|
1 |
vm.max_map_count=262144 |
Then apply the changes:
|
1 |
sudo sysctl -p |
For Windows with WSL, run:
|
1 2 |
wsl -d docker-desktop sysctl -w vm.max_map_count=262144 |
These adjustments ensure OpenSearch can handle large indices efficiently.
2. Disable swap memory
Swap memory can negatively impact OpenSearch performance by introducing latency. Disabling swap ensures memory-intensive operations run smoothly.
For Linux, disable swap with:
|
1 |
sudo swapoff -a |
To make it permanent, edit /etc/fstab and comment out any swap entries.
For Windows WSL, swap settings are managed through .wslconfig, located in the user’s home directory. Adjust or disable swap as needed to improve OpenSearch performance.
3. Configure Docker resource limits
To prevent OpenSearch from consuming excessive resources, set memory and CPU limits in Docker.
For a standalone container, use the --memory and --cpus flags:
docker run -d –memory=4g –cpus=2 opensearchproject/opensearch:latest
For Docker Compose, define resource limits under the deploy section:
|
1 2 3 4 5 |
deploy: resources: limits: memory: 4g cpus: "2.0" |
Setting appropriate limits helps maintain system stability and prevents OpenSearch from exhausting host resources.
4. Use Docker Compose for multi-node clusters
Running OpenSearch in a single container is suitable for development, but production environments benefit from a multi-node cluster. Docker Compose simplifies managing such a setup.
Use a docker-compose.yml file to define multiple OpenSearch nodes and OpenSearch Dashboards. This setup enables automatic discovery and proper load distribution.
To start a cluster, run:
|
1 |
docker compose up -d |
Managing OpenSearch through Docker Compose ensures better scalability and easier maintenance.
5. Secure OpenSearch access
By default, OpenSearch requires authentication, but additional security measures should be taken:
Set an admin password:
When running OpenSearch, specify a strong initial password:
|
1 |
-e "OPENSEARCH_INITIAL_ADMIN_PASSWORD=StrongP@ssword" |
Enable TLS encryption:
Configure SSL/TLS to encrypt communication between clients and OpenSearch.
Restrict network access:
Bind OpenSearch to a specific interface (e.g., localhost) to prevent unauthorized access:
|
1 |
-e "network.host=127.0.0.1" |
Use firewall rules:
Block unnecessary external access using firewall rules or security groups in cloud environments.
These steps help prevent unauthorized access and protect sensitive data within OpenSearch.
Instaclustr for OpenSearch: Optimized, reliable, and hassle-free
When it comes to managing, searching, and analyzing large data sets, OpenSearch stands out as a powerful tool. But operationalizing OpenSearch at scale? That’s where things get tricky. Enter Instaclustr for OpenSearch, the fully managed solution designed to take the complexity out of high-performance data search and enhance your business operations.
Key advantages for businesses
With Instaclustr for OpenSearch, you gain more than just a managed service; you unlock a range of benefits tailored to your organization’s needs:
End-to-end management
Forget the headaches of configuring and maintaining your search cluster. Instaclustr provides 24/7 expert support, automated maintenance, and seamless upgrades, so you can focus on delivering insights, not infrastructure.
Performance you can trust
Built with high availability, Instaclustr’s platform ensures your OpenSearch clusters perform reliably, even under demanding workloads. Whether you’re running real-time application searches, log analytics, or business intelligence projects, Instaclustr guarantees responsive and efficient operations every time.
Data security simplified
Security is non-negotiable. Instaclustr integrates enterprise-grade encryption for data at rest and in transit, alongside robust access controls. Sleep easy knowing your sensitive data is safeguarded at every level of the stack.
Why Choose Instaclustr for OpenSearch?
Expert support
Tap into the power of a seasoned engineering team with years of experience in managing OpenSearch for mission-critical applications. From setup to scaling, Instaclustr is by your side every step of the way.
Open source freedom
Instaclustr believes in open source without strings attached. With 100% OpenSearch at its core, you can avoid vendor lock-in and maintain full control of your data and integrations.
Predictable, cost-effective pricing
Instaclustr offers transparent pricing, so you know exactly what your investment covers.
Developer-friendly integrations
With support for key tools like Kibana dashboards, REST APIs, and modern development platforms, Instaclustr’s solution works effortlessly within your existing tech ecosystem.
Achieve more with Instaclustr
From retail to healthcare and everything in between, businesses need tools that scale with their growth. Instaclustr for OpenSearch delivers the flexibility, security, and functionality required to drive data-driven insights and actionable results at scale.
Start managing OpenSearch like a pro with Instaclustr and see the difference a fully managed service can make.
For more information: