Creating an AWS PrivateLink ClickHouse Cluster
Overview
AWS PrivateLink is a networking feature provided by Amazon Web Services that enables direct and secure connectivity between AWS VPCs. This article describes how to provision a PrivateLink-enabled ClickHouse cluster using the Instaclustr Console, API, or Terraform Provider.
For general ClickHouse cluster provisioning information, please refer to the Creating a ClickHouse Cluster guide.
Limitations
Before, proceeding, please note the following:
- This feature is currently available for clusters provisioned with AWS provider only.
- Tables without distribution or replication are not suitable for PrivateLink clusters, as individual nodes cannot be explicitly referenced. Ensure your tables use distributed or replicated engines for proper PrivateLink functionality.
Create a PrivateLink cluster using the Instaclustr Console
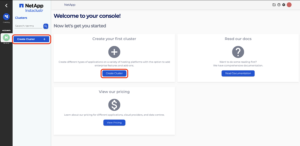
- Log into the Console and click the Create Cluster button.
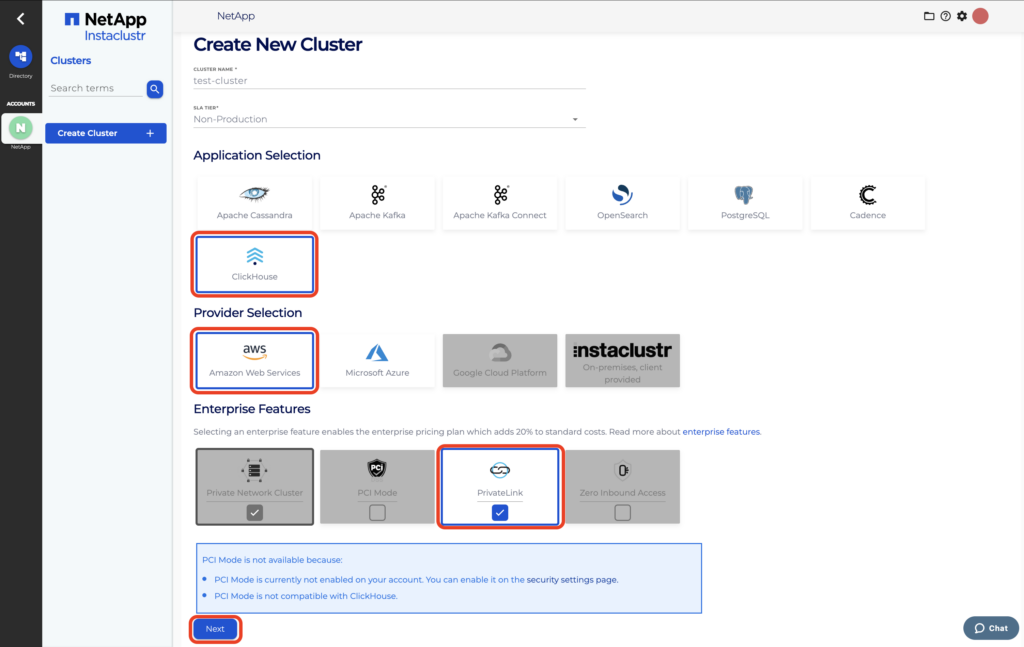
- Under the applications page, select ClickHouse as the application and AWS as the provider. Enable PrivateLink under Enterprise Features, configure any other settings as required, then click Next.
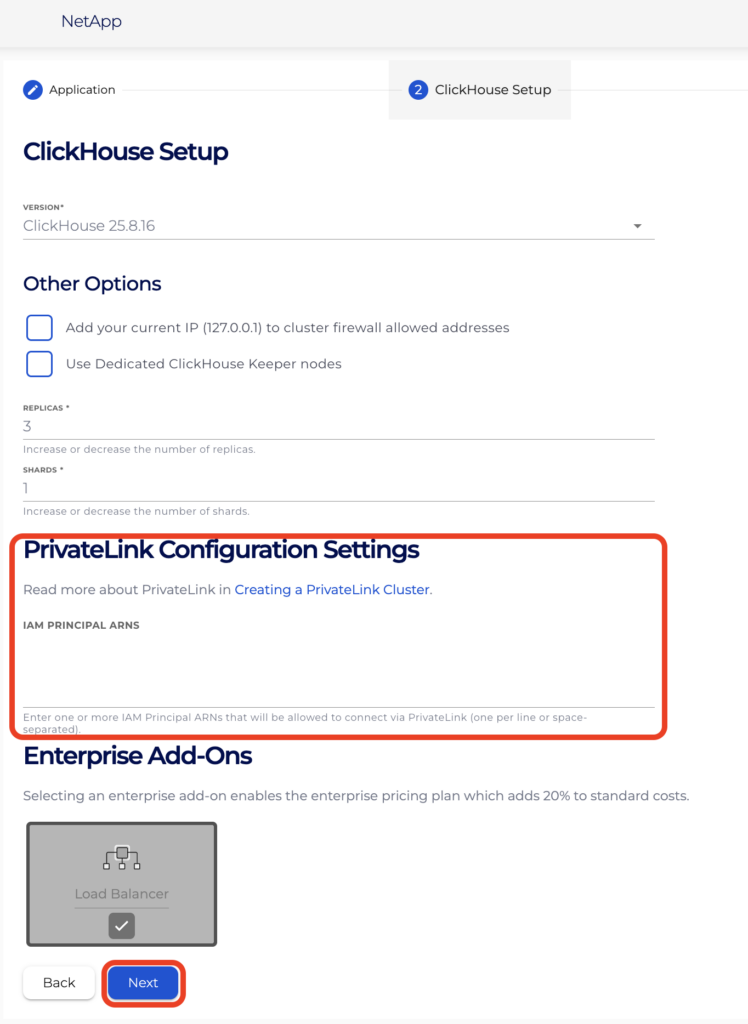
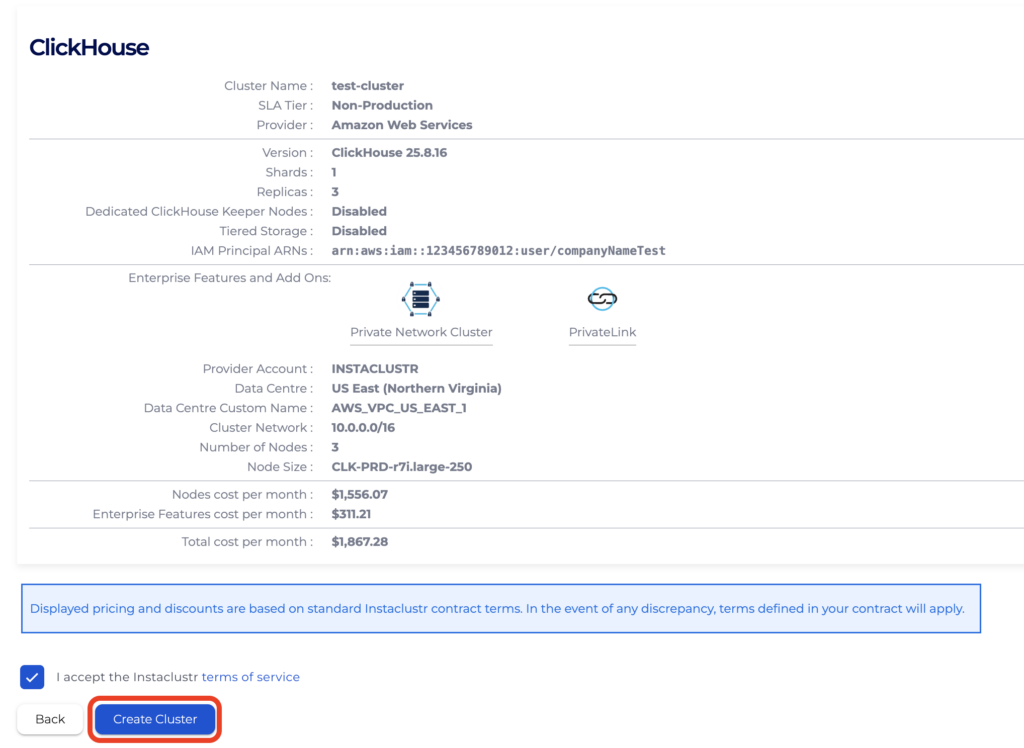
- On the ClickHouse Setup page, there is a section titled PrivateLink Configuration Settings. This section includes IAM Principal ARNs (Optional) which AWS identities are authorised to create endpoints to your cluster’s endpoint service. For example, adding arn:iam::123456789012:user/companyNameTest would allow the companyNameTest user to create an endpoint using the provided endpoint service name. You can input your ARNs now or can specify it later following the guide managing Principal ARNs once the cluster creation completes.
Configure any other settings as required, then click Next.
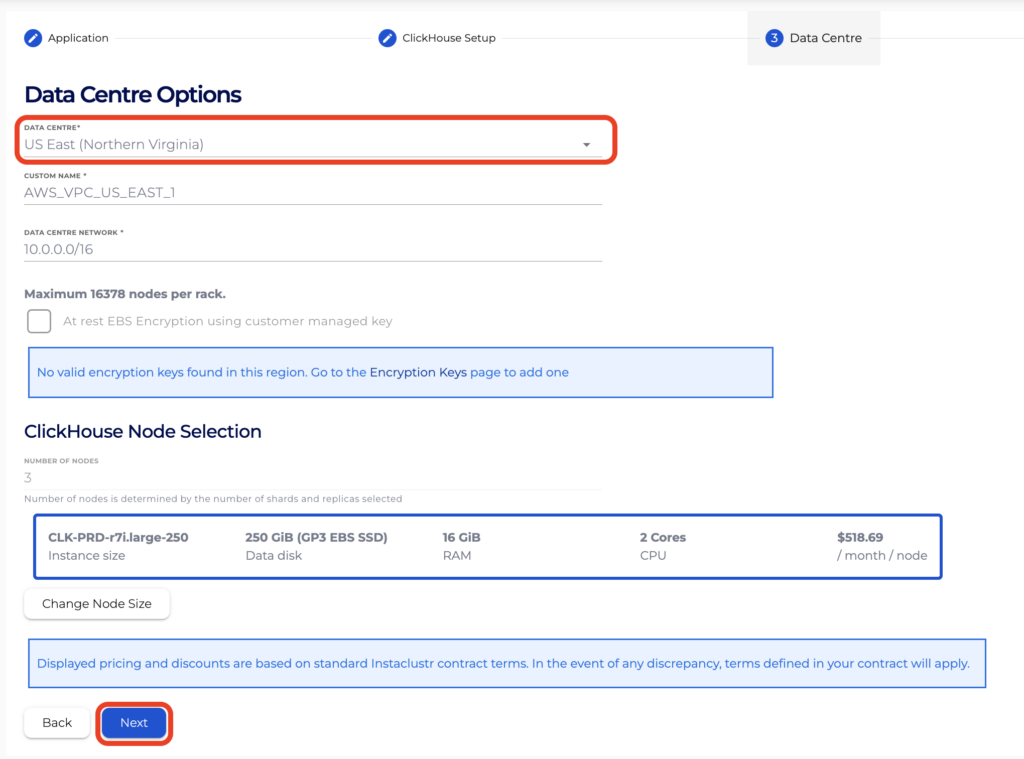
- On the Data Centre Options page, ensure your PrivateLink cluster is created in the same Region as the AWS resources from which you want to connect to it. Configure any other settings as required, then click Next.
- On the Confirmation page, ensure all cluster configurations are as expected, accept the Instaclustr terms and conditions, then click Create Cluster.
Create a PrivateLink cluster using the Instaclustr API
You can create, view and delete a PrivateLink ClickHouse cluster using the Instaclustr API.
1. Create the Cluster:
Send a POST request to create a PrivateLink-enabled ClickHouse cluster. An example for the POST endpoint is provided below.
- Endpoint: https://api.instaclustr.com/cluster-management/v2/resources/applications/clickhouse/clusters/v2
- Payload:
|
1 2 3 4 5 6 7 8 9 10 11 12 13 |
"dataCentres": [ { "privateConnectivity": [ { "awsPrivateLink": [ { "useAwsPrivateLink": true } } ] ...// other dataCentre properties } ] |
- Save the cluster-id from the POST response. You will need this for the next step.
- The “endpointServiceName” is required to create your VPC endpoint in AWS. Once the cluster is provisioned, retrieve it using:
|
1 |
GET https://api.instaclustr.com/cluster-management/v2/resources/applications/clickhouse/clusters/v2/{{cluster-id}} |
For details on all API endpoints, please refer to the Instaclustr API documentation.
Create a PrivateLink cluster using the Terraform Provider
The steps to provision a PrivateLink ClickHouse cluster using Terraform are as follows:
- Follow this support document to set up your Instaclustr Terraform Provider V2.
- Edit the data_centre section in main.tf to include information about AWS PrivateLink:
1private_connectivity {aws_private_link { use_aws_private_link = true}} - Follow the Terraform init, plan, and apply cycle to provision the cluster.
For details of the Terraform resources, please refer to the Instaclustr Terraform documentation.
Next Steps
Once your cluster is running, further steps will still be required to connect to it. Please refer to our support article on Connecting to a PrivateLink ClickHouse Cluster for a guide on this process.
Questions
Please contact Instaclustr Support for any further inquiries.