Creating a PostgreSQL Cluster with Azure NetApp Files
Running performance-intensive and latency-sensitive file workloads in the cloud can be hard. Azure NetApp Files makes it easy for enterprise line-of-business (LOB) and storage professionals to migrate and run complex, file-based applications with no code change. Azure NetApp Files is widely used as the underlying shared file-storage service in various scenarios including databases. See https://www.netapp.com/azure/azure-netapp-files and https://azure.microsoft.com/en-gb/products/netapp for more information.
Instaclustr supports Azure NetApp Files by introducing the node sizes that use Azure NetApp Files Volumes as their storage. You can follow this page Creating a PostgreSQL Cluster to create a PostgreSQL cluster using Microsoft Azure AZ as the cloud provider until you see the following Data Centre page
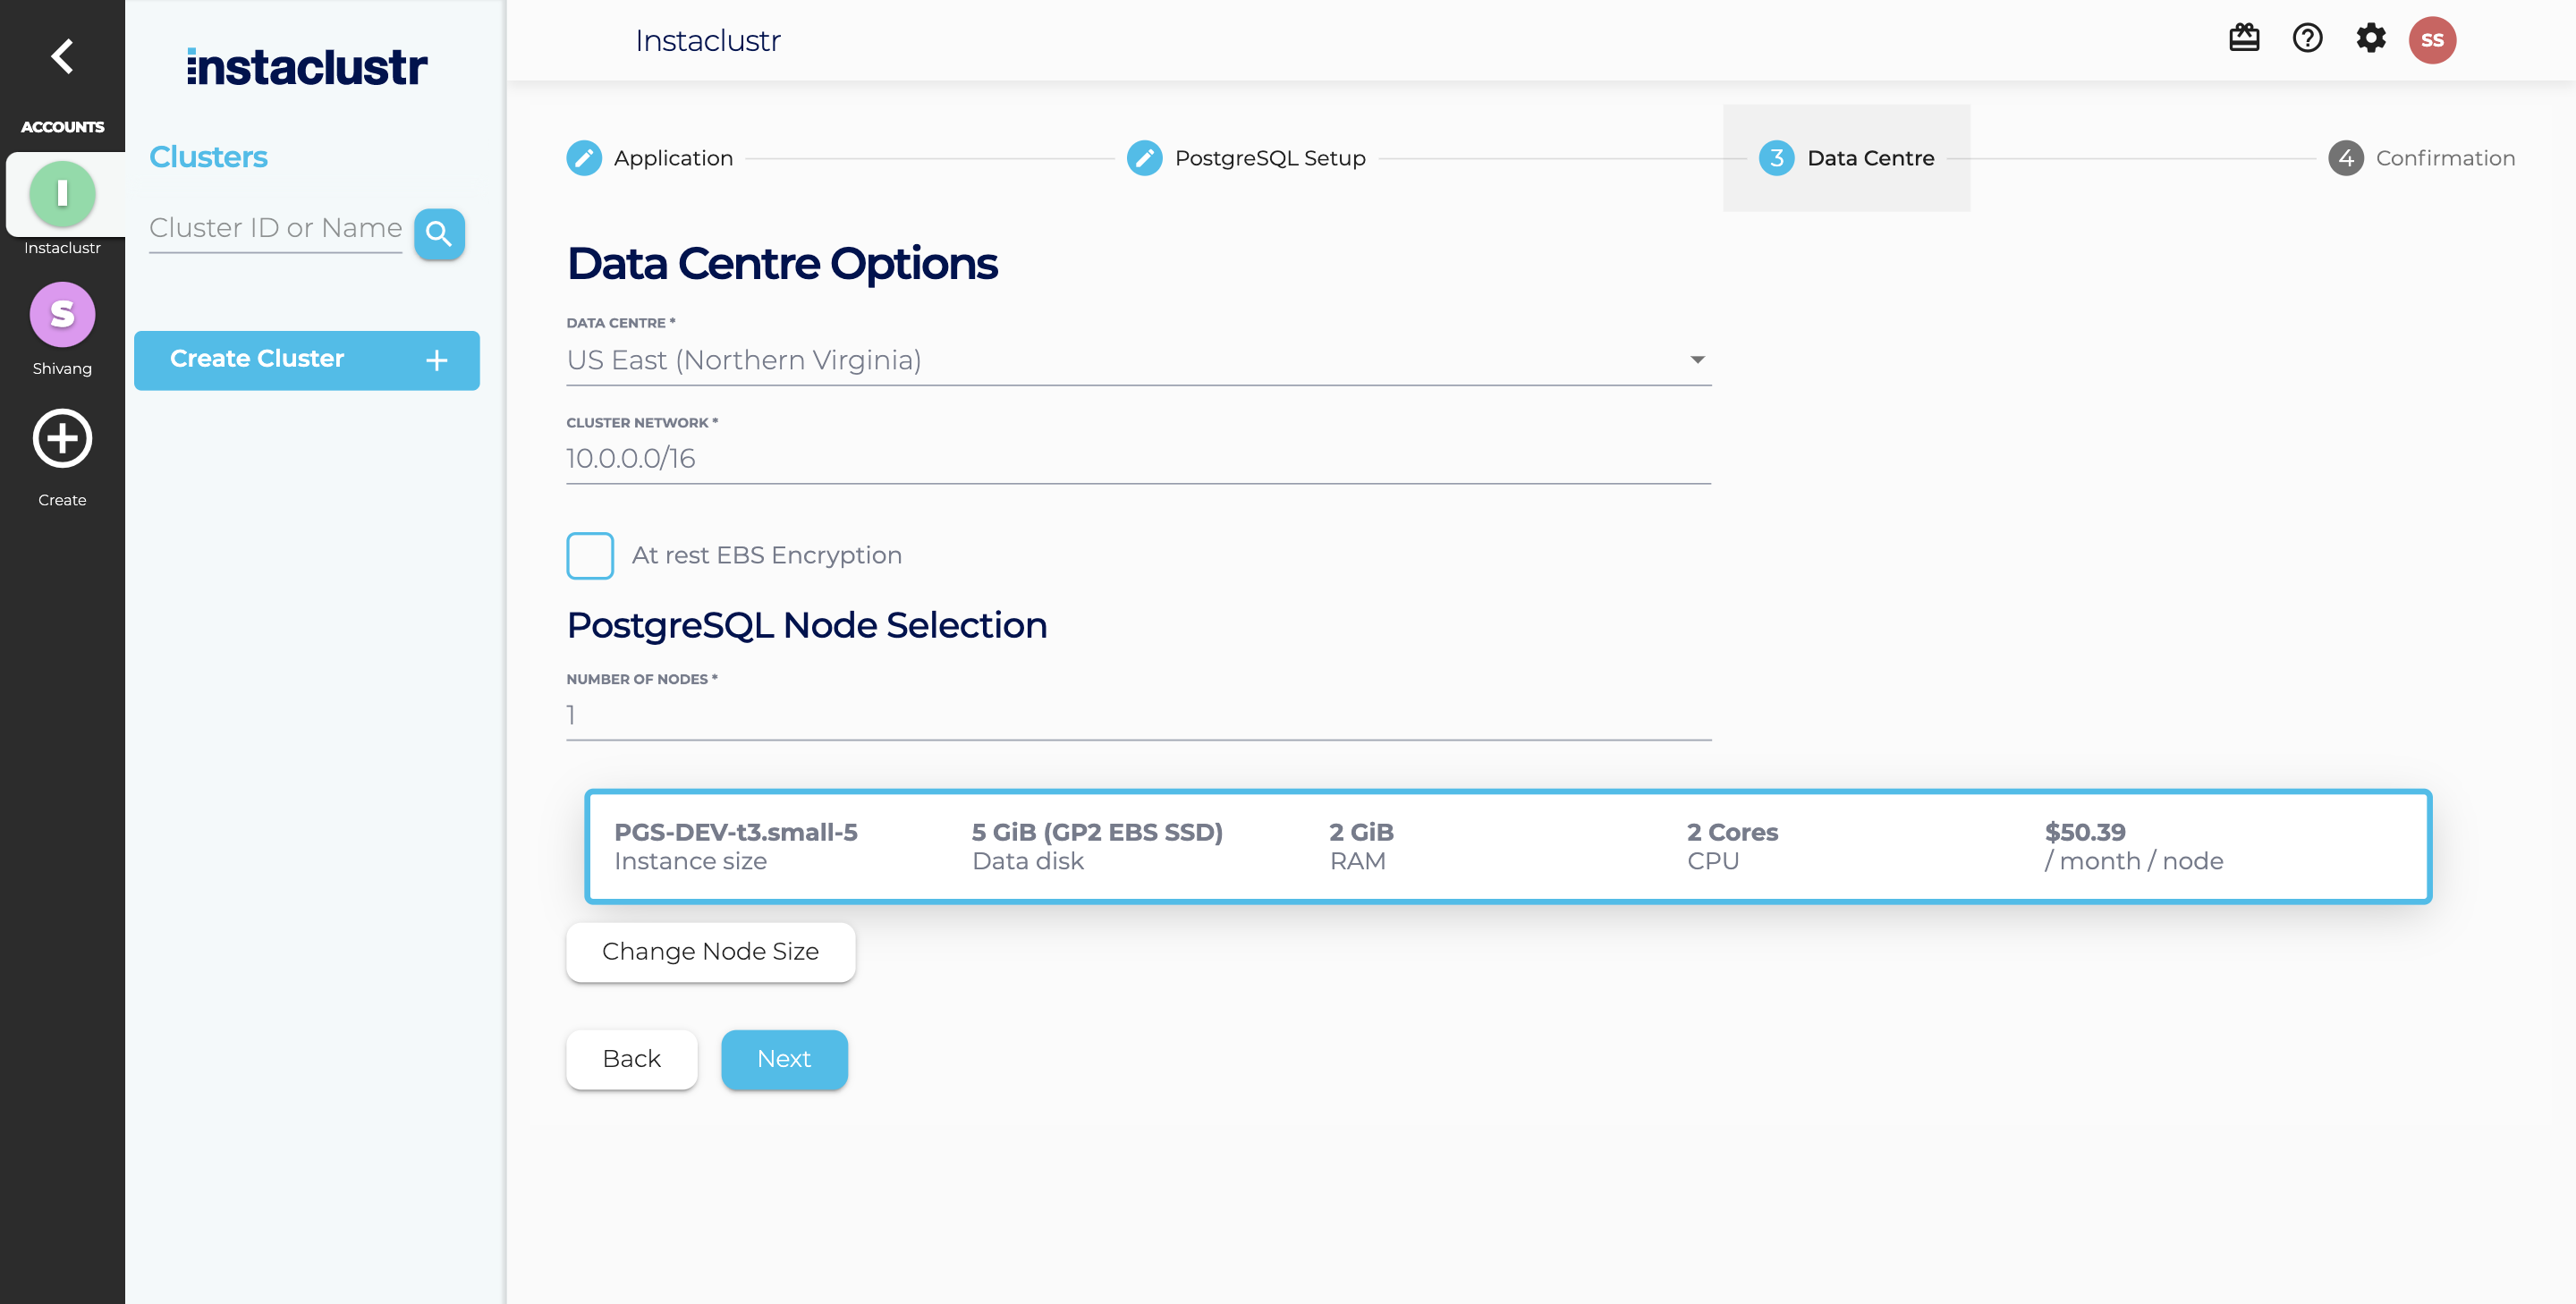
You can specify the Azure NetApp Files backed node sizes for your cluster by clicking on Change Node Size, which will show you a list of available options. If you choose to provision a multi-node cluster, there will be one primary node and the remaining nodes will be used for data replication. All the Azure NetApp Files backed node sizes are annotated with Azure NetApp Files Premium NFSv3.

When provisioning the Azure NetApp Files Volumes, you need to specify a Storage Network in addition to the Cluster Network. This Storage Subnet is the delegated subnet used by the Azure NetApp Files Volumes within the same virtual network, which is required by Azure. The default value of the Storage Subnet is a CIDR range next to your Cluster Network, which always works if you are creating a cluster using an Instaclustr’s account. If you are creating a cluster using an Bring Your Own Cloud (BYOC – previously RIYOA) with a custom Virtual Network, you need to specify a CIDR range that does not exist in your Virtual Network.

The Confirmation section displays a brief summary of your cluster configurations and pricing details. Make sure the Node Size on the Confirmation page has ANF in it. Click the Terms and Conditions link to open the Instaclustr Terms and Conditions. After going through the document, select the checkbox to accept the Terms and Conditions. Once you are happy with the cluster configuration and have accepted the terms and conditions, click the Create Cluster button to start provisioning the cluster.
