Keycloak example configuration
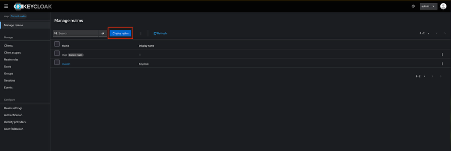
If you have an existing realm in Keycloak to use for the MCP Gateway, then you can skip this step. Otherwise, navigate to the Manage Realms page and create a new realm. No special configurations are required.
In the Clients section, create a new client.
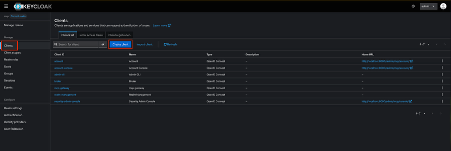
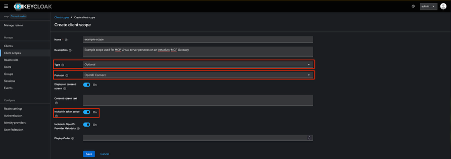
Specify the type as OIDC, enable Client Authentication, as the MCP specification requires the use of a client ID and client secret when authenticating via OAuth2, and choose a PKCE method.
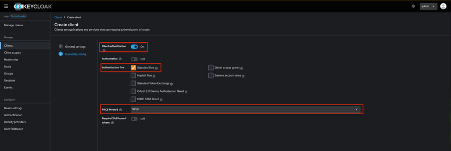
On the next page, specify your application’s callback URI in Valid Redirect URIs (i.e. http://your.app.com/oauth/callback). Add your application’s base URI into Web Origins (i.e. http://your.app.com) and then finish creating the client.
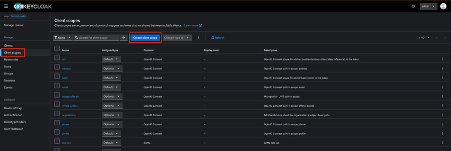
Authorization of IdP users to specific MCP Virtual Servers and tools requires the use of JWT claims issued by requested scopes that map to personas on the MCP Gateway. Here we will create a scope that supplies the user’s groups via a custom claim when requested. Go to the Client Scopes section and create a new scope, or skip this if you are re-using an existing one.
Specify the type as Optional, the protocol as OpenID Connect and enable Include in Token Scope.
Once the scope is created, or you are using an existing one, go to the Mappers section on the scope, then to Configure a new mapper, or Add Mapper -> By Configuration if there are existing mappers on an existing scope.

Here you can choose a user details to publish in a named token claim. Some suggestions are Group Membership and Organization Membership. If the mapper supports the Token Claim Name field, this will be used as the Roles Claim Name, and the scope name is used in Scopes Supported when creating an MCP Virtual Server.
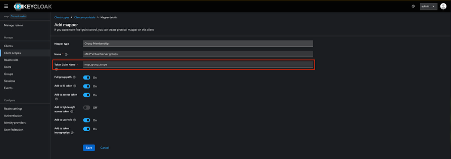
Go to Add Mapper -> By Configuration -> Audience
Name it audience_config and add a value of your choosing to the Included Custom Audience field. We recommend using the MCP Gateway cluster ID for this value. You will need to remember it for later when creating the MCP Virtual Server.
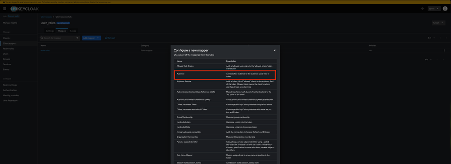
You can now ready to create the MCP Virtual Server. There are several pieces of information you need to complete the creation. Firstly, go to the Realm Settings for the realm containing your client, then open the OpenID Endpoint Configuration link.
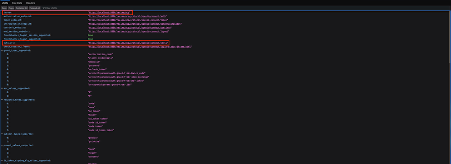
Take note of the issuer and jwks_uri values (shown here in pink).
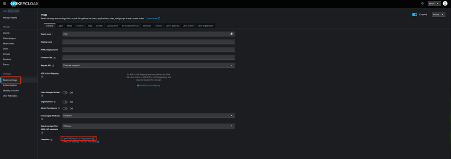
In the MCP Gateway Virtual Server configuration user the issuer and JWKS URI you copied before, the audience value should match the one you set when configuring the Client Scope, put the name of the Client Scope in the Scopes Supported section and specify the resulting claim name for the scope in the Roles Claim Name section.
We recommend reviewing the following support articles as a next step: