Connect to Apache Cassandra with Cqlsh
Cqlsh is a utility for running simple CQL (Cassandra Query Language) commands on a local or remote Cassandra cluster. This article describes how cqlsh can be used to connect to clusters in Instaclustr. In this article, we assume that your cluster has been set up and provisioned properly as shown in our previous tutorial “Creating a Cluster”.
Table of Contents
Prerequisites
Python 2.7 or a later version needs to be installed. If you don’t have python installed on your local machine, please refer to the appendices at the end of this article.
You also need Cassandra binaries which can be downloaded from https://archive.apache.org/dist/cassandra/. We recommend Cassandra 2.1 or later. You don’t have to install Cassandra after downloading, if you only want to use cqlsh.
The public IP address of your machine must be added to the Cassandra Allowed Addresses in the Firewall Rules tab of your cluster in the Instaclustr console (Refer this support article).
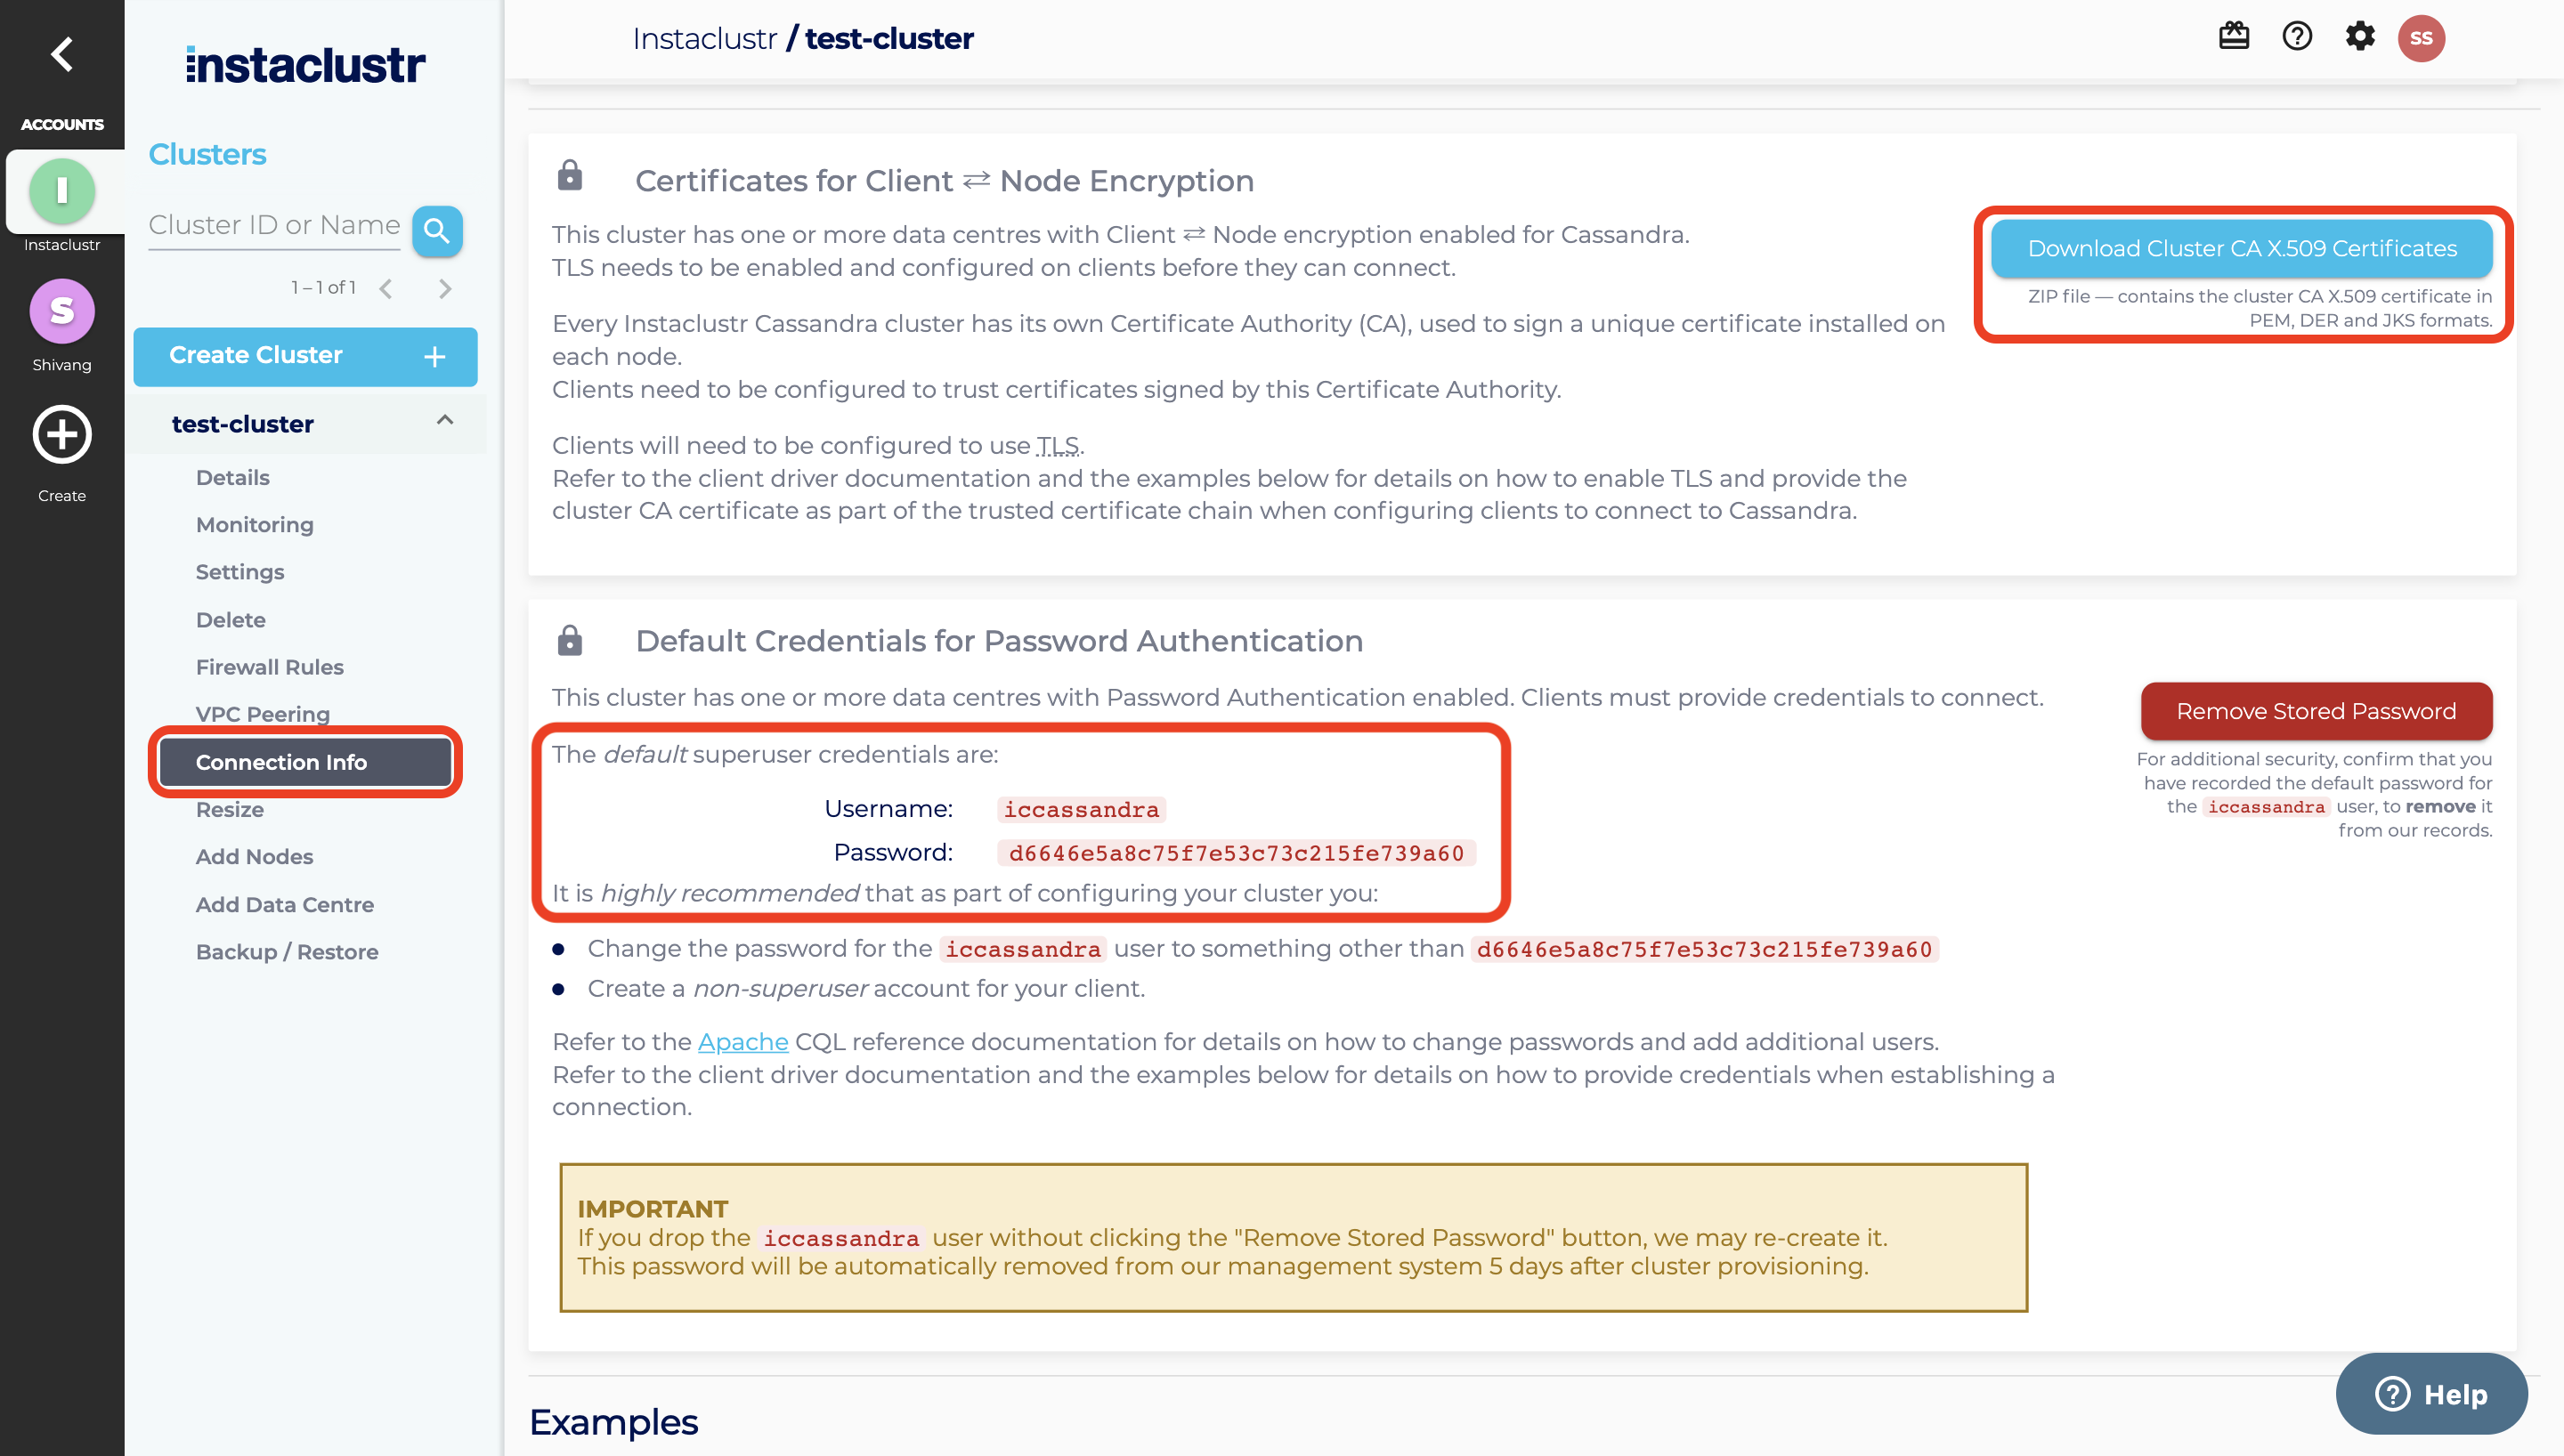
Username, password and certificate file can be found on the Connection Info page of your cluster. Certificate files are required to connect to your cluster with SSL.
Connecting to Instaclustr without SSL
If encryption is not enabled in your cluster, you can connect to it using cqlsh without SSL.
a) For Mac/Linux
Open your terminal and use the following command to connect to your cluster. Note: if authentication is not enabled in your cluster, you don’t need the options “-u” and “-p”.
For tarball installation:
|
1 |
Cassandra/bin/cqlsh public_ip_of_your_node 9042 -u your_username -p your_password |
For package installation:
|
1 |
cqlsh public_ip_of_your_node 9042 -u your_username -p your_password |
For binary/source download:
|
1 |
Cassandra/bin/cqlsh public_ip_of_your_node 9042 -u username -p your_password |
b) For Windows
Run cmd.exe as administrator and enter the user home directory where your Cassandra is downloaded.
For tarball installation and binary/source download:
|
1 |
python Cassandra/bin/cqlsh public_ip_of_your_node 9042 -u your_username -p your_password |
For package installation:
|
1 |
python cqlsh public_ip_of_your_node 9042 -u your_username -p your_password |
Connecting to Instaclustr with SSL
If encryption is enabled in your cluster, SSL is needed for connecting to the cluster and cqlshrc file is used to configure SSL encryption.
a) For Mac/Linux
Open your terminal and using the following command, create a “.cassandra/cqlshrc” file in your user home directory.
|
1 2 |
cd touch .cassandra/cqlshrc |
Open the empty cqlshrc file using the following command.
|
1 |
vi .cassandra/cqlshrc |
Copy the following content and paste it into the empty cqlshrc file. Then save the file.
|
1 2 3 4 5 6 7 8 9 10 11 12 13 14 15 16 17 18 19 |
[authentication] username = your_username password = your_password [cql] version = 3.2.1 [connection] hostname = public_ip_of_your_node port = 9042 [tracing] max_trace_wait = 10.0 [ssl] certfile = full_path_to_cluster-ca-certificate.pem validate = true factory = cqlshlib.ssl.ssl_transport_factory version = SSLv23 |
Now you can start cqlsh with the –ssl option.
For tarball installation and binary download:
|
1 |
Cassandra/bin/cqlsh --ssl public_ip_of_your_node |
For package installation:
|
1 |
cqlsh --ssl |
For source download:
|
1 |
Cassandra/bin/cqlsh --ssl |
Please note: If you are using running cqlsh from Mac OS X and it returns an error message that the TLS protocol version is not supported, you may need to update your system Python (E.g. install an updated Python 2.7 via Homebrew).
b) For Windows
Open notepad, create a new file and name it to “cqlshrc”. Copy the following content and paste it into the file. Then save the file into the “.cassandra” directory under your user home directory.
|
1 2 3 4 5 6 7 8 9 10 11 12 13 14 15 16 17 18 19 |
[authentication] username = your_username password = your_password [cql] version = 3.2.1 [connection] hostname = public_ip_of_your_node port = 9042 [tracing] max_trace_wait = 10.0 [ssl] certfile = full_path_to_cluster-ca-certificate.pem validate = true factory = cqlshlib.ssl.ssl_transport_factory version = SSLv23 |
Now you can start cqlsh with the –ssl option.
For tarball installation or binary download:
|
1 |
python Cassandra/bin/cqlsh --ssl public_ip_of_your_node |
For package installation:
|
1 |
python cqlsh --ssl |
For source download:
|
1 |
python Cassandra/bin/cqlsh --ssl |
Troubleshooting
If you encounter a cql version error like: “cql_version ‘3.3.1’ is not supported by remote (w/ native protocol). Supported versions: [u’3.2.1′]”, run cqlsh with an extra option ‐‐cqlversion=’3.2.1’. First check that you have not specified an incorrect version in your cqlshrc file, you can either remove this or update it to the required version.
Otherwise, run cqlsh with an extra option ‐‐cqlversion=’3.2.1’. You can follow the example below:
For tarball installation and binary/source download:
|
1 |
Cassandra/bin/cqlsh --cqlversion=’3.2.1’ |
For package installation:
|
1 |
cqlsh --cqlversion=’3.2.1’ |
Use the same option for connecting to ssl enabled clusters:
|
1 |
cqlsh --ssl --cqlversion=’3.2.1’ |
If neither of these solutions work, you may be required to update your cqlsh version to the client bundled with the version of cassandra you are trying to connect to. You can download the required binaries from https://cassandra.apache.org/download/.
If you encounter a protocol version error like “This version of the driver does not support protocol version N”, then you will need to update your cqlsh version to the client bundled with the version of cassandra you are trying to connect to. Again, you can download the required binaries from https://cassandra.apache.org/download/.
Additional Resources
For additional information on CQL, refer the following resources:
Appendix A: Install Python on Windows
Download Python from https://www.python.org/downloads/windows/ and we recommend version 2.7 or later.
Navigate to the download location on your computer, double clicking the Python MSI file and press the “Run” button when the dialog box pops up. Then you will see the following window.

If you only have one user account on your computer, you can select the “Install for all users” option. If you have multiple accounts on your computer and don’t want to install it across all accounts, you can select the “Install just for me” option. Press the “Next” button, then you will see the following window.
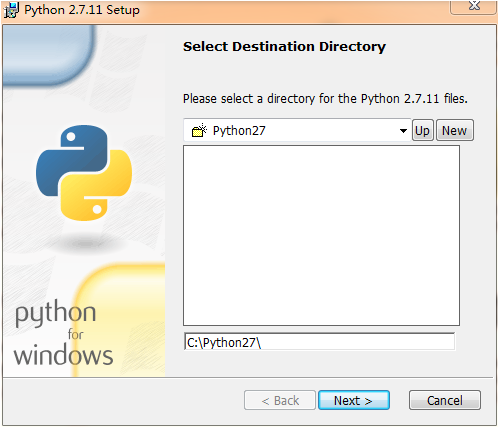
If you want to change the install location, feel free to do so. However, it is best to leave it as it is. Then press the “Next” button and you will see the following window.

Scroll down in the window, find the “Add Python.exe to Path”, click on the small red “x” button and choose the “Will be installed on local hard drive” option. Press the “Next” button, then the installation starts. You will notice that the installation will bring up a command prompt window. Please wait and do nothing until you see the following window.
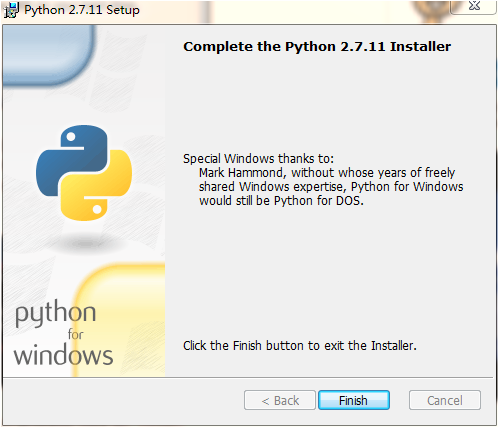
Click the “Finish” button to exit the installer.
If you chose Python 3.4.1 or later version, you will not need to manully add Python to System Path Variable. Then you can skip the following procedure.
Once you have successfully installed Python, it is time to add it to the System Path Variable. Doing this will allow Python to run scripts on your computer without any conflicts of problems.
Open the start menu, search “environment” and select the option called “Edit the system environment variables.”
After the “System Properties” window pops up, select “Advanced” panel and click on “Environment Variables…”.
After the “Environment Variables” window pops up, click the “New…” button in the “System variables” group to create a new variable for Python as shown in the following picture. Then Press the “OK” button to save the changes.

Appendix B: Install Python on Mac
If you already have homebrew installed on your computer, you can skip this step. Otherwise use the following commands to install homebrew:
|
1 2 3 |
ruby -e "$(curl -fsSL https://raw.githubusercontent.com/Homebrew/install/master/install)" export PATH=/usr/local/bin:/usr/local/sbin:$PATH |
Once homebrew is installed, you can install Python using the following command:
|
1 |
brew install python |
Appendix C: Install Python on Linux
Download Python and extract it using the following commands:
|
1 2 3 |
wget --no-check-certificate https://www.python.org/ftp/python/2.7.11/Python-2.7.11.tgz tar -xzf Python-2.7.11.tgz |
Build and install Python with the following commands:
|
1 2 3 4 5 6 7 |
cd Python-2.7.11 ./configure make sudo make install |